Photographing the Northern Lights: The Definitive Guide
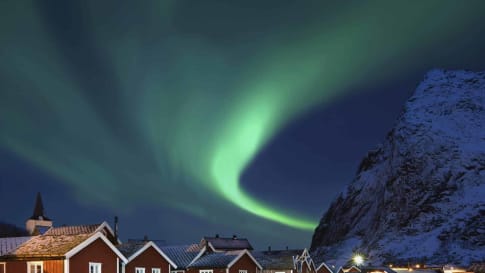
Photographing the Northern Lights. How to Capture the Beauty of the Northern Lights. The Aurora Borealis, commonly called the Northern Lights, as well as the Aurora Australis, the Southern Lights, are two the world’s most…
1 Jan 20 · 7 mins read
What are the Northern and Southern Lights?
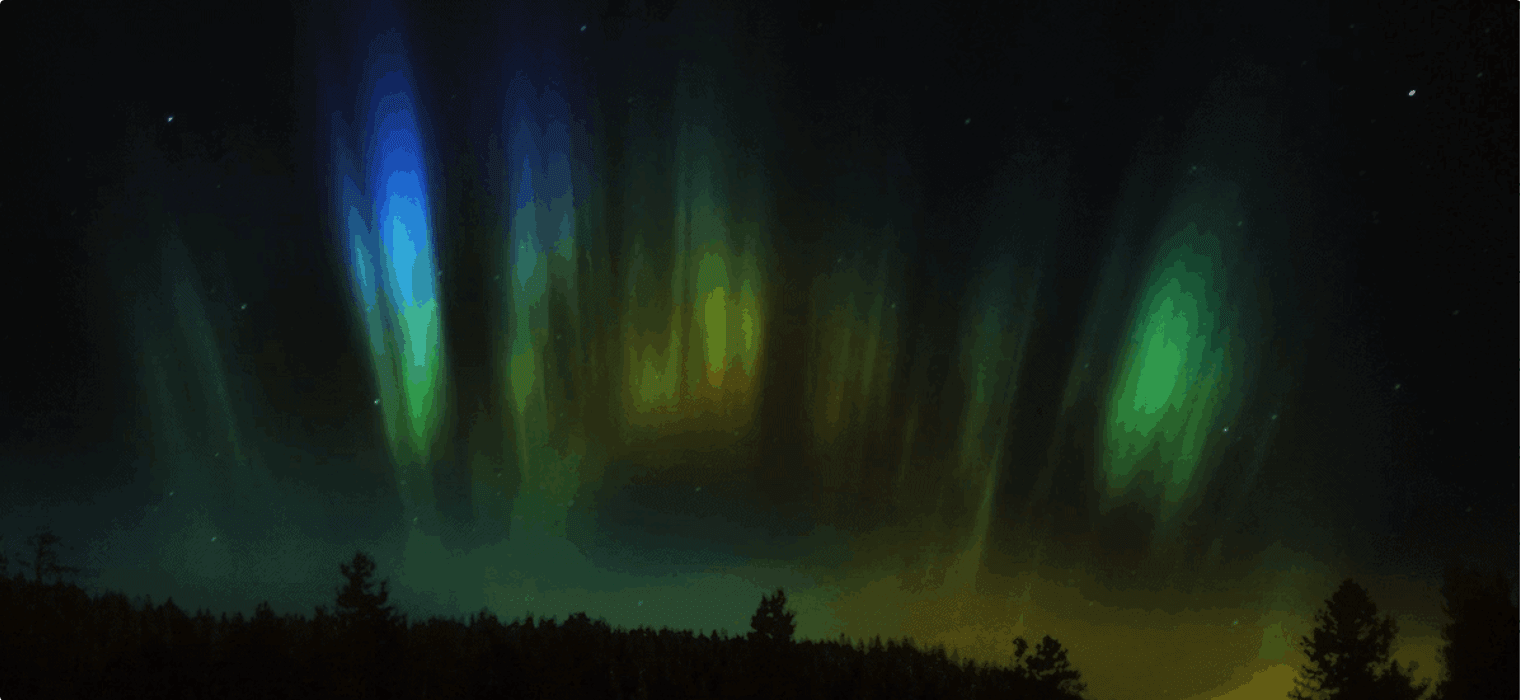
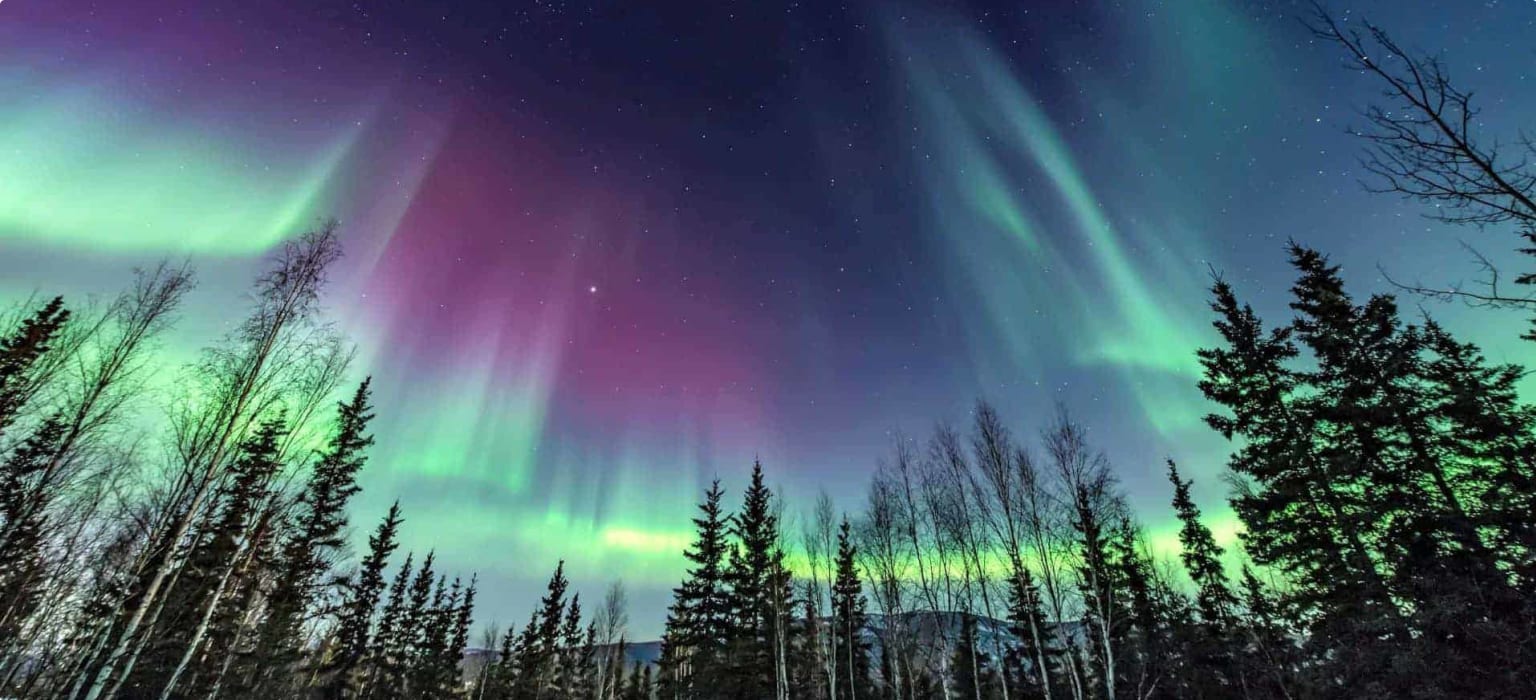
The northern and southern lights are dependent on solar activity and the solar cycle. What we see as a colourful light display, are actually the collision between gas particles that have been electrically-charged by the sun and gas particles in the Earth’s atmosphere. The sun’s multi-million-degree temperature charges protons and electrons, which escape via sunspot or coronal hole, and are swept toward Earth by solar wind. The lights are only visible in the northern and southern poles because Earth’s magnetic field is weaker at the north pole and the south pole and thus the particles are not as strongly repelled as they would be closer to the equator.
Once in Earth’s atmosphere, the particles collide with one another and dispel the energy in different colours depending on the types of gas particles and the distance from the Earth. For example, according to the Northern Lights Centre in Watson Lake, Canada, the most common colour of the auroras, green, is the result of oxygen particles colliding relatively close to Earth (approximately 100 km from the surface). The Centre also states that oxygen particles can also result in red-coloured lights when more than 300 km away from the surface. Similarly, nitrogen collisions can result in blue or purple hues.
Viewing the Northern Lights
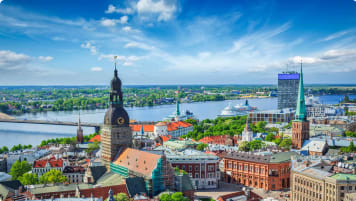
According to Babak Tafreshi with National Geographic, the best place to witness the Aurora Borealis are areas with minimal light pollution and a magnetic latitude above 55°. This typically means being at least 30 or more minutes away from the artificial light of a major city in northern Canada, Alaska, Iceland, northern Norway (including Lofoten), Sweden, Finland or Russia.
Most people will tell you that winter is northern lights season; this is not entirely true. Yes, the northern lights can be seen better throughout the winter months due to darker skies. However, more specifically, times close to equinoxes in late September and late March are best to increase your chances of a sighting due to greater magnetic connection. Physicist David Hathaway estimates that you almost double your odds of seeing the northern lights in spring and fall than winter or summer (Dr. Tony Phillips with NASA, 2008). This can similarly be said for seeing the Southern lights.

There are a number of online tools and apps that can help you to estimate your greatest chance of seeing the northern lights. Here are a few:
All-in-one app to provide real-time recommendations of best locations and weather conditions – https://www.jrustonapps.com/apps/my-aurora-forecast
Aurora Forecast – https://www.gi.alaska.edu/monitors/aurora-forecast
To find areas of lower light pollution – https://blue-marble.de/nightlights/2015
Equipment you’ll need
A DSLR Camera – Automatic digital cameras or camera phones are not going to be able to take that awe-inspiring picture of an aurora. In dark settings, cameras like this will not be able to make the necessary adjustments to shutter speed, shutter release, aperture and ISO; instead they will force a flash, essentially erasing the auroras with light. For this reason, it is essential to use a DSLR camera that you can adjust manually.
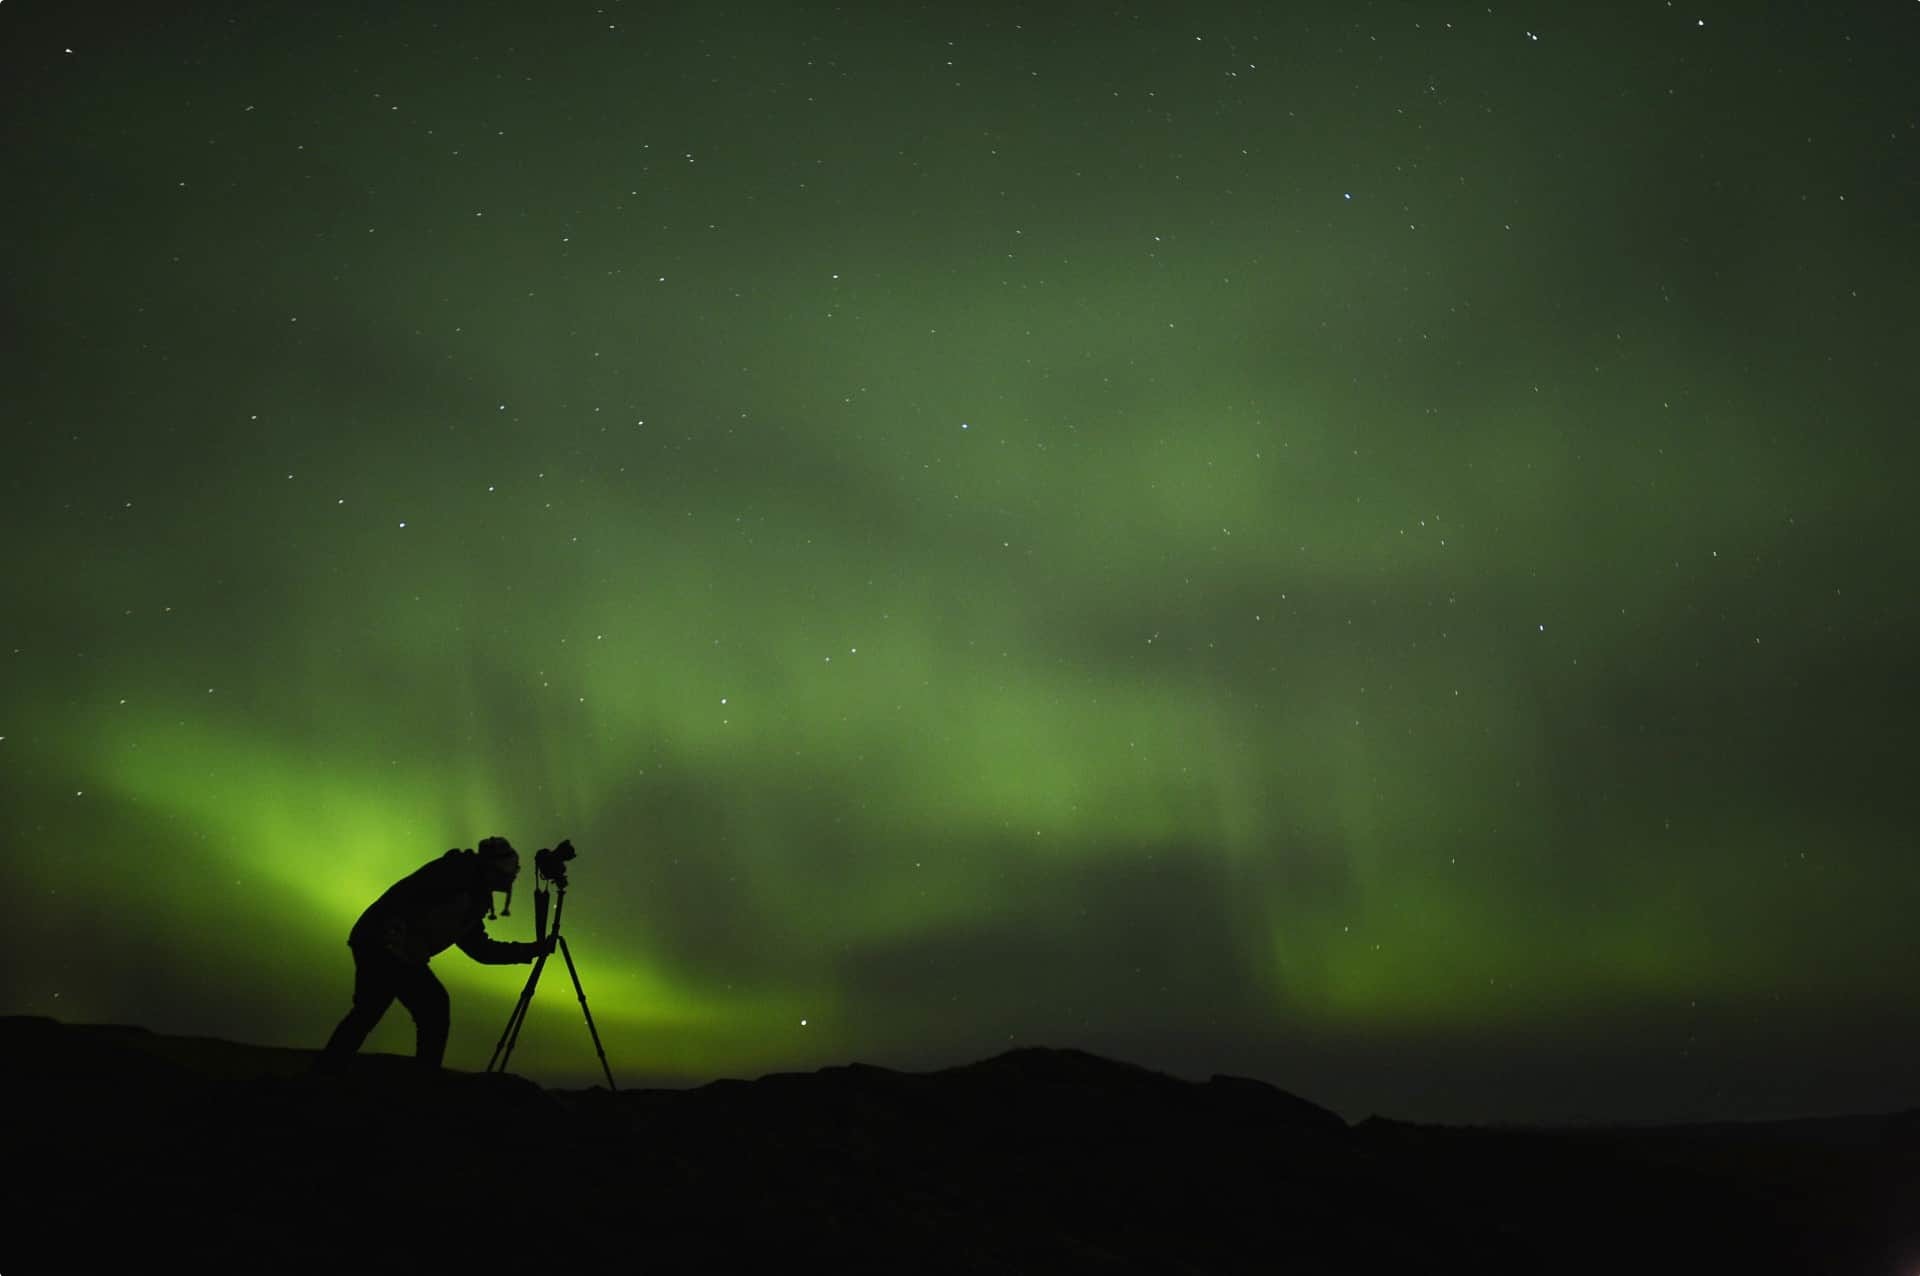
A Tripod – It will be next to impossible to capture a stunning image at night without a tripod. Because the camera will take multiple seconds to capture the lights, holding a camera will result in a blurry image. Even slightest twitch or breathing will distort the image. You may choose to set your camera down on a rock or bench, which alleviates the problem of movement, granted it doesn’t slip. However, with a tripod, you will be able to get the best angles and ability to make slight setting changes without picking up your camera.
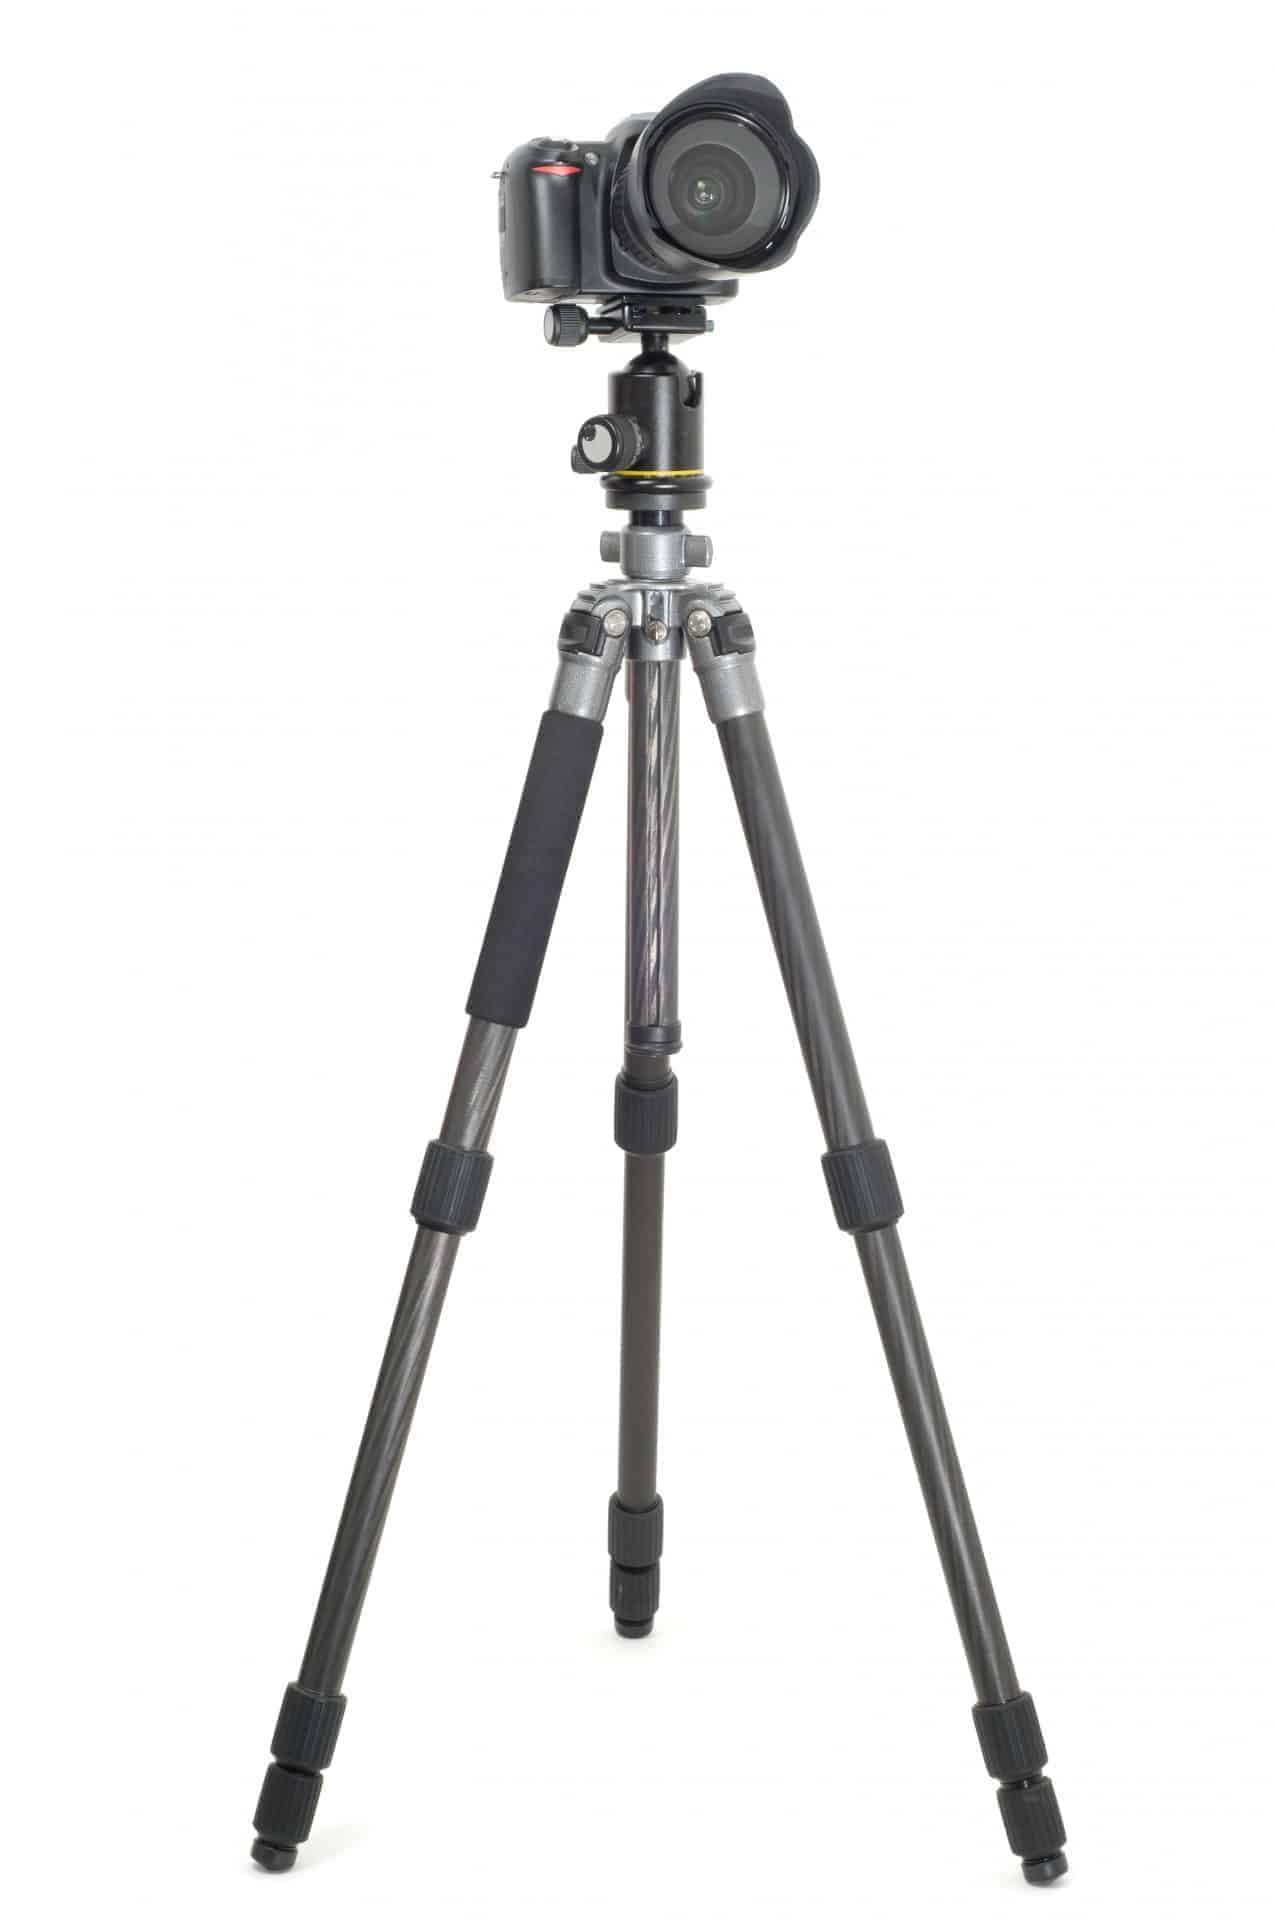
A Wide-angle Lens (Optional) – To ensure that the camera is able to take in as much light as possible in the dark, the aperture will need to be very low. The wider your lens, the lower you can make your aperture. It is recommended to have a lens able to go below 25mm in focal length. Most standard lenses go to 18mm.
A Remote Shutter Release (Optional) – To eliminate all possibility of camera movement, a remote control to release the shutter, would be a helpful addition to your camera bag. Alternatively, most cameras will have a self-timer function. Use this function to set a 2-second delay so that you can remove your hand from the shutter button before the image begins to capture.

Camera Settings and Adjustments
In order to capture your image of the northern or southern lights, you will need to manually adjust your focus and camera settings.
Focus – You will need to manually adjust your focus in order to shoot at night. This will likely be one of the most challenging tasks of your aurora photography. On many cameras there is an infinity focus symbol (∞) which can do some of the heavy lifting when it comes to focusing on something as far away as the stars and auroras. However, it may also need to be tweaked to sharpen the image. This can be done in two ways: during the day or during the night. You can adjust your focus during the day time by focusing at the furthest horizon you can see. Adjust by looking through the view finder or zooming in on the live view mode so that everything is crystal clear at the horizon point, then mark that point with tape or marker on your lens to know where to adjust your focus to later. You can also opt to set your camera during the night, right before shooting. Do this by choosing the farthest point you can see, such as a star or mountain top and adjusting focus to that object. With either method, take a few test shots to ensure that the image is sharp.

Shutter speed – A picture is created when a shutter opens and light passes to a sensor within the camera. The shutter speed describes how long this shutter stays open, which allows more or less light through. The longer the shutter is left open, the more light is absorbed in the sensor and the brighter the resulting image is. On a bright sunny day, your camera may only need the shutter open for 1/2000 of a second for the sensor to capture the image. Whereas, when taking photos at night or in dark settings, up to 10 seconds or more may be needed for the sensor to absorb what little light is available and capture what is in front of it.
Depending on how fast the auroras are moving and the type of image you want to capture, you will need to adjust your shutter speeds. For example, between 5 and 10 seconds should be able to capture a clear image of a fast-moving aurora, or 20 seconds could better capture a slow-moving one (Stephens 2018). It is also important to note that longer shutter speeds of 15 seconds or more will also affect the sharpness of the stars in the sky as their movement will start to be captured in addition to the movement of the aurora.
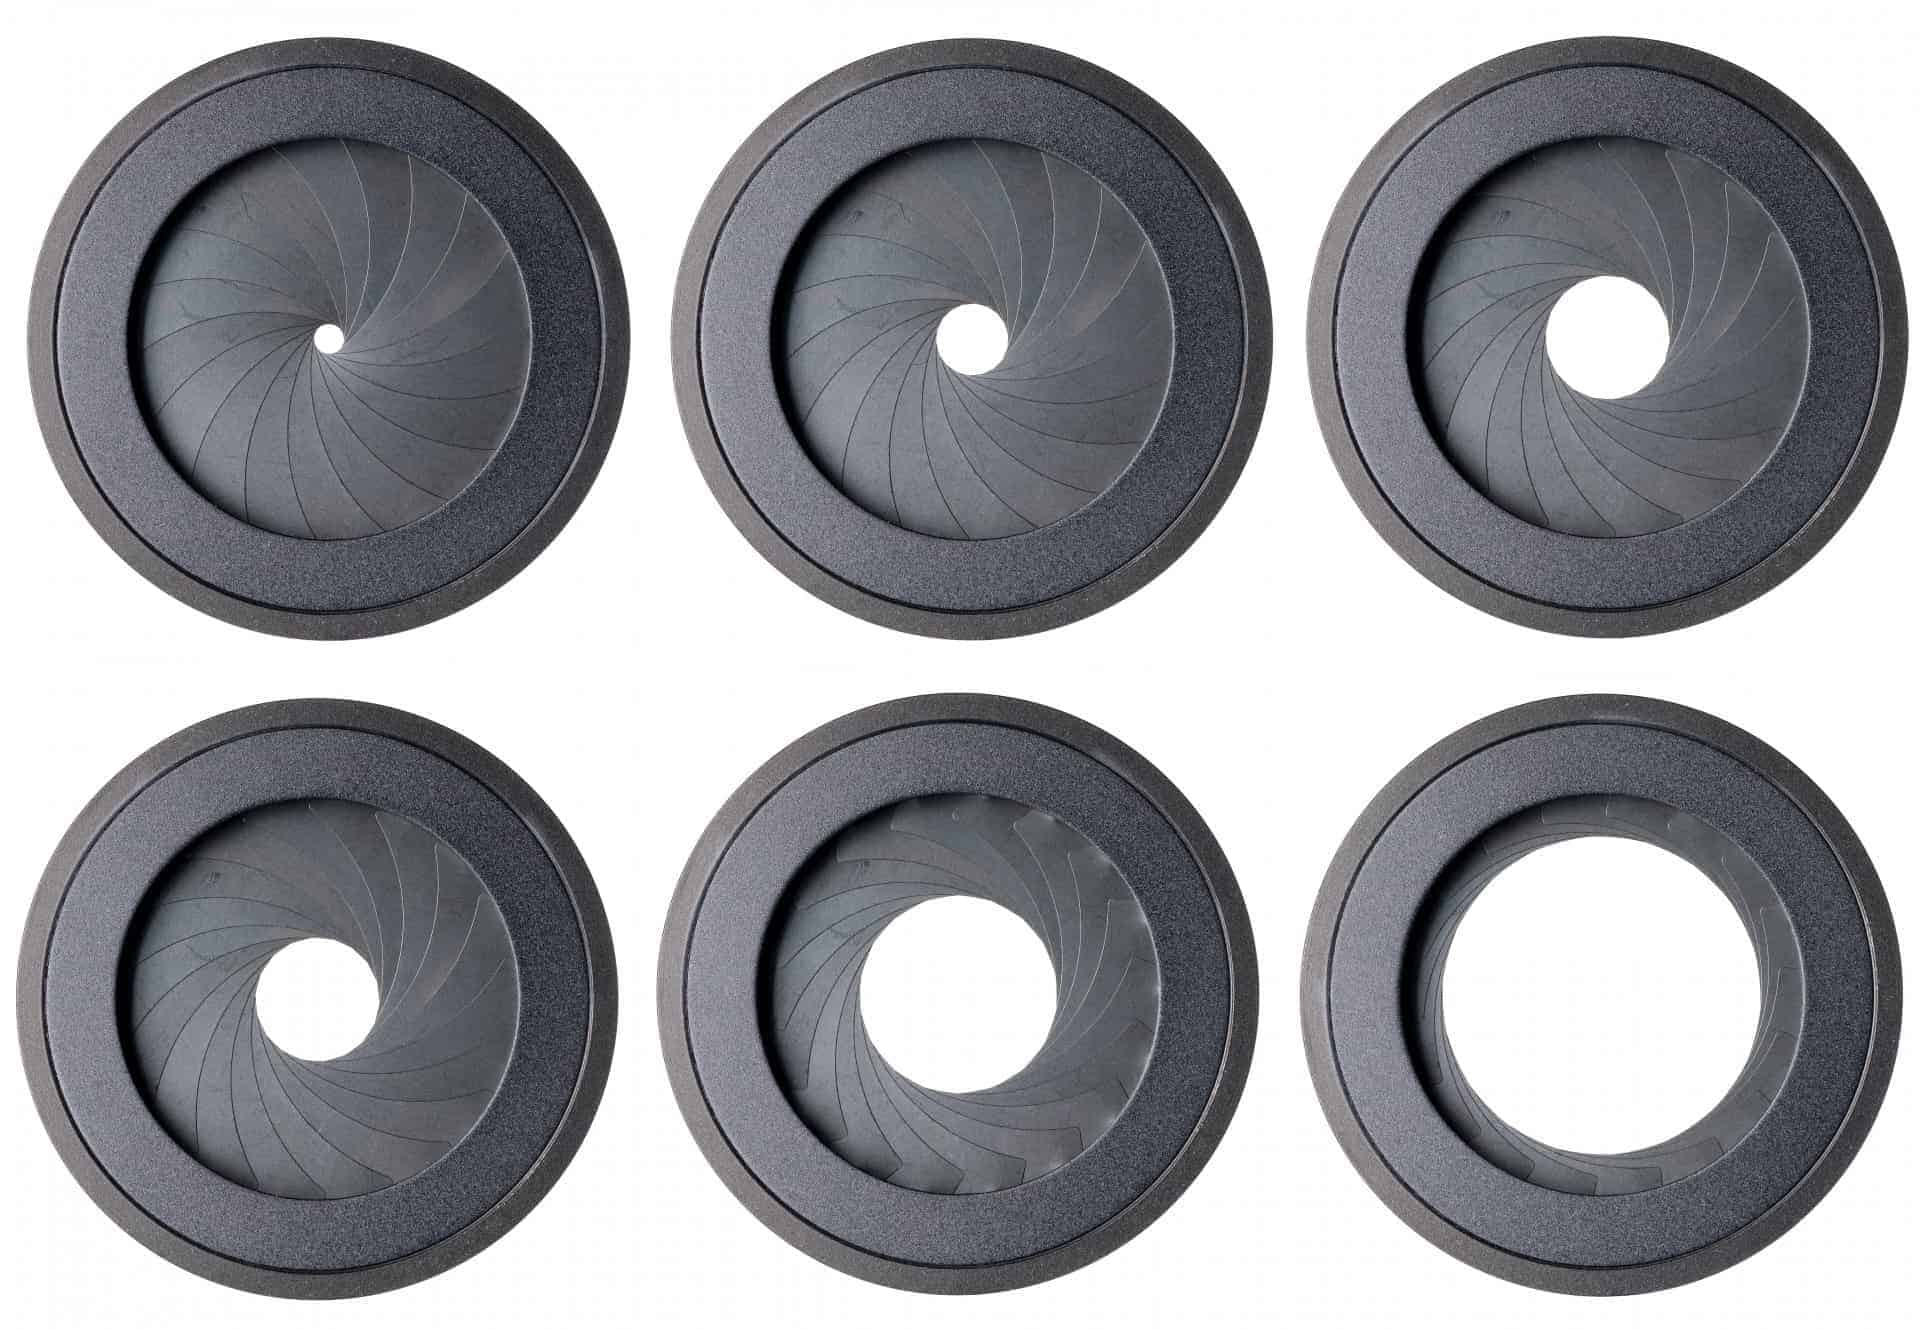
Aperture – The aperture refers to the width that the shutter opens to. Again, this will affect how much light is let into the camera to hit the sensor and capture the image. The wider the aperture, the more light is let in. Generally speaking, for night photography you want as low an aperture as possible, specifically f/2.8 or lower.
ISO – Adjusting the ISO is the final step to setting your camera. ISO essentially indicates the camera sensor’s sensitivity to light. The higher the ISO, the higher the sensitivity, and thus the brighter the image. However, before you crank the ISO up right away, you should know that increased ISO can also result in a lower image quality, making the image grainier. After setting your shutter speed and aperture, incrementally increase ISO starting from 800, until the auroras are visible.
After adjusting your initial settings, you will need to take a number of shots and fine tune them as needed. As auroras are not static, they can change in brightness and speed, which you will have to adapt to in order to get the best shot.


Related Tours
10 days
Oct, JanNorthern Lights Small Group tour | Visit Norway and Finland
Visiting Finland, Norway
Odyssey's small group tour following the Northern Lights allows you to experience serene snow-covered Arctic landscapes. Throughout our journey guides and specialists will outline the history of this stark region and the nature of the peoples who wrested their living from it. A unique opportunity to view this natural phenomenon travelling as part of a small group.
From A$11,115 AUD
View Tour
17 days
Sep, AprIceland cultural and wilderness small group tour
Visiting Iceland
Discover the dramatic landscapes and rich heritage of Iceland on this fully escorted small group journey designed for mature travellers. Circumnavigating the island, the tour explores glaciers, waterfalls, volcanic landscapes, geothermal wonders and charming Nordic towns, with highlights including Reykjavík, Thingvellir National Park, Jökulsárlón Glacier Lagoon and whale watching in Husavík. Led by expert guides, this immersive itinerary combines Iceland’s natural beauty, Viking history and unique culture in the comfort of a relaxed small-group setting.
This tour can be combined with 4 days in Greenland.
From A$19,350 AUD
View Tour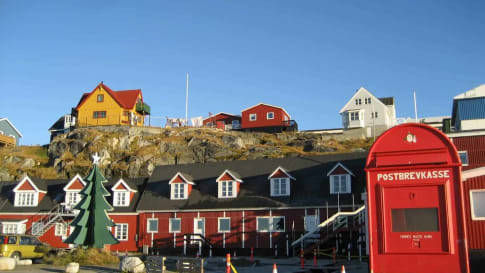
4 days
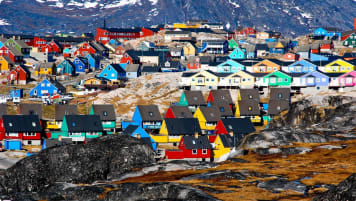
Sep, May, Jun, AprDiscover Greenland | Small Group Tour for Seniors
Visiting Greenland
Greenland is the largest island in the world, the majority of it lies above the Arctic Circle, and it is part of Denmark. Few places are quite so difficult to reach, we fly from Reykjavik to Nuuk. During this small group tour we have ensured that our travellers gets to this conversation-stopping land and, while we are there we obtain the most comprehensive overview of this vast landmass. We visit during the summer, experiencing the burst of seasonal flora, which caused the early voyagers to name it Greenland.
From A$6,750 AUD
View Tour
days
Oct, MayHelsinki to Irkutsk on the Trans-Siberian Railway
Visiting Finland, Russia
Escorted tour on the Trans-Siberian railway network from West to East starting in Helsinki and finishing in Irkutsk after 21 days. This is small group travel with like minded people and itineraries that maximise the travel experience of the 6 key destinations explored en-route. Our small group journeys are for mature couples and solo travellers.

days
Apr, AugIrkutsk to Helsinki on the Trans-Siberian Railway
Visiting Finland, Russia
Escorted tour on the Trans-Siberian railway network from East to West starting in Irkutsk and finishing in Helsinki after 21 days. This is small group travel with like minded people and itineraries that maximise the travel experience of the 6 key destinations explored en-route. Our small group journeys are for mature couples and solo travellers.
13 days
Jun, SepScandinavia tours for mature travellers
Visiting Denmark, Norway
Uncover on a small group tour for couples and solo travellers, a Viking past and view of the world’s biggest fjords on this journey through Scandinavia. In low-lying Denmark our small group journey takes us to visit the Zeeland, the sea land, and our program includes the vibrant capital of Copenhagen. In Norway we travel through endless forests, skirting great fjords to Bergen.
From A$14,995 AUD
View Tour